PROG32578 - Software Install
Installing Java and an IDE
Of course, the first thing we'll need to do is make sure we have Java, and an IDE so we can create Java EE programs. You installed Java in term 1, so that shouldn't require too much effort. Installing the Eclipse IDE is equally painless.
Java SE 14 or Later
- Get Java 14 or later. You should already have something installed from Term 2, but if you don't, refer to your Java 1/2 notes for installation help). You might be thinking, "Don't I have to have Java EE installed?" and that's a legitimate question. You can install it if you want to, but you don't have to because the Tomcat server has all the Java EE (sometimes just called JEE) classes you'll need.
An IDE: Eclipse JEE
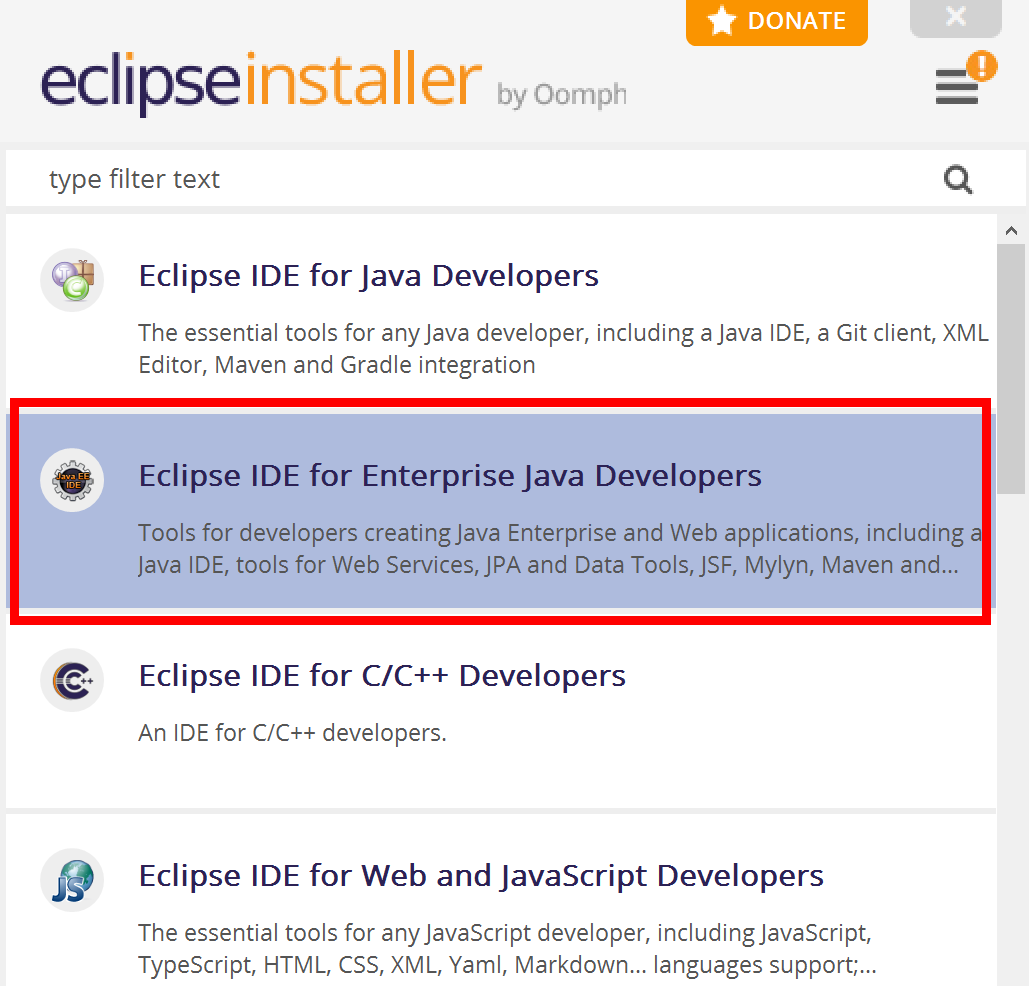
We'll be using Eclipse for Enterprise Java Developers - simply download and save it onto your computer, then run the file to start the installation.
When prompted, select "Eclipse IDE for Enterprise Java Developers".
During installation, you'll be asked to select the version of Java you want to use. For the field "Java 11+ VB" you can pull open the list and select a version you have installed on your system. Choose the most recent version that is greater than or equal to Java 14.
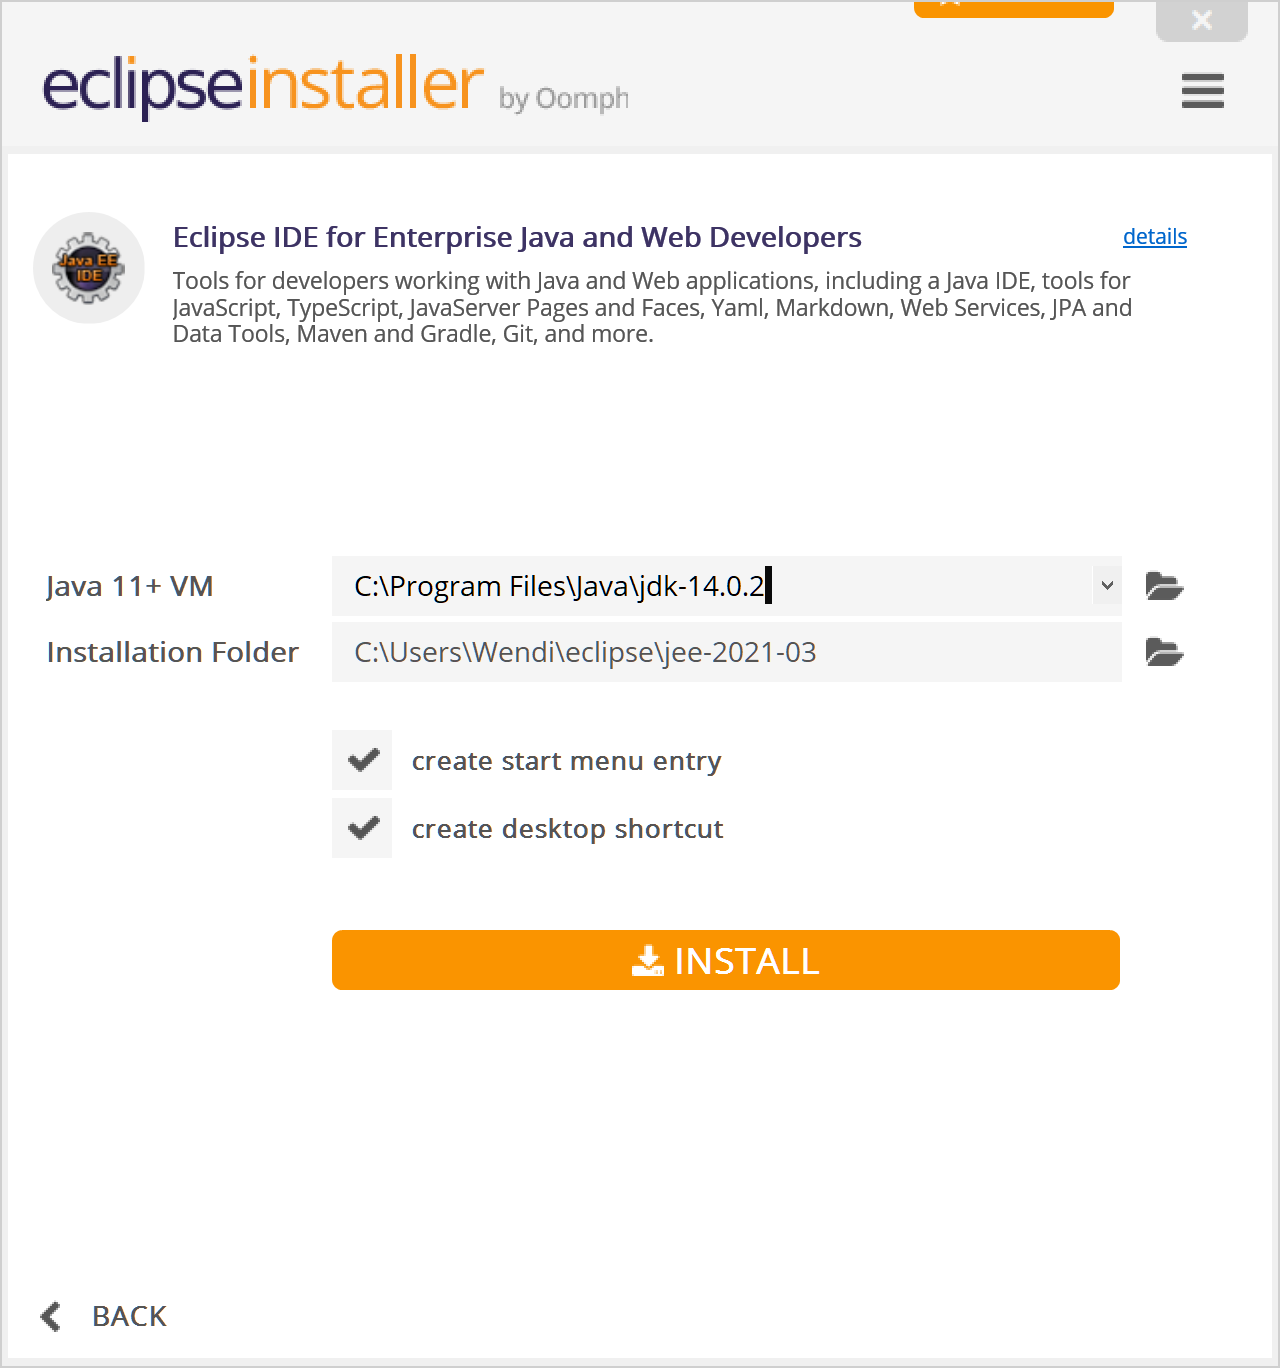
Once you've selected your Java version, you can click the Install button.
If prompted to accept licenses and user agreements, check the "Remember accepted licenses" checkbox so you don't have to do this every time there's an update.
Once the installation is complete, click the LAUNCH button.

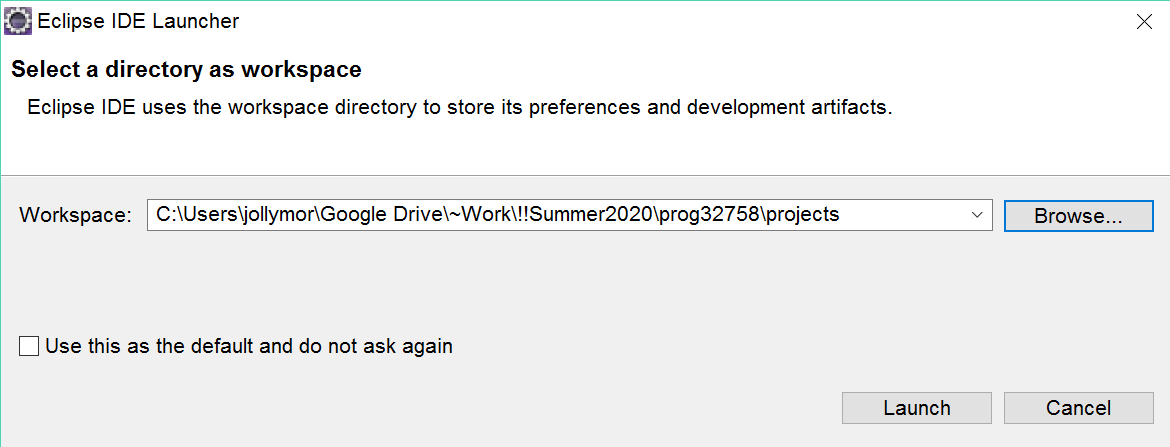
When you start Eclipse, you're prompted to choose a workspace. A workspace is a collection of projects (a project is usually one application). You can have several workspaces if you wish: For example, I have a workspace where I test all the little exercises and assignments I want you to try. I also have a separate workspace that I use to make teaching videos. I have yet another workspace for actual projects that I'm working on.
You can probably get by in this course just fine with a single workspace, but some students like to have a workspace for practice exercises and a separate workspace for assignments. Having separate workspace is more organized, however using a single workspace will be easier if you think you're going to be spending a lot of time looking up past projects/exercises to see how to do something.
Regardless of what you decide to do today, you can always add a new workspace at any time. To start with today, your workspace should be located where you put all your documents and files for all of your courses, such as prog32758/projects or java3/projects.
Choose the workspace location. For convenience, you might wish to check the box "Use this as the default and do not ask again". You can easily switch workspaces from inside Eclipse at any time by selecting File > Switch Workspace.
Once Eclipse is running, we need to add Spring Tools so that we can write Spring Boot applications:
- Go to the Help menu and select Eclipse Marketplace. Be patient
and wait for the screen to finish loading, it might take
a few extra seconds.
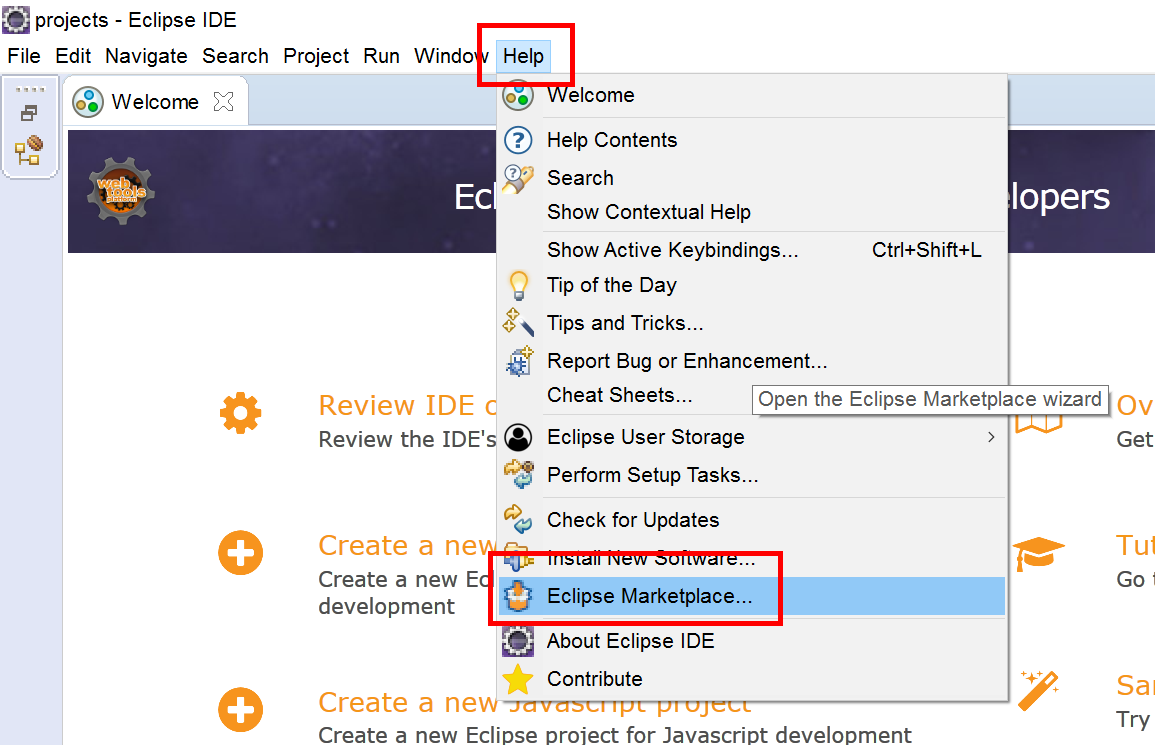
Add Spring Boot: Go to menu Help > Eclipse Marketplace. - In the Search tab, go to the "Find" field and type "spring" without the
quotes. You will likely see more than one matching item in
the list. Look for "Spring Tools 4..." (the actual release
number at the end might be different from what you see
in the screen shot) and click the little Install button.
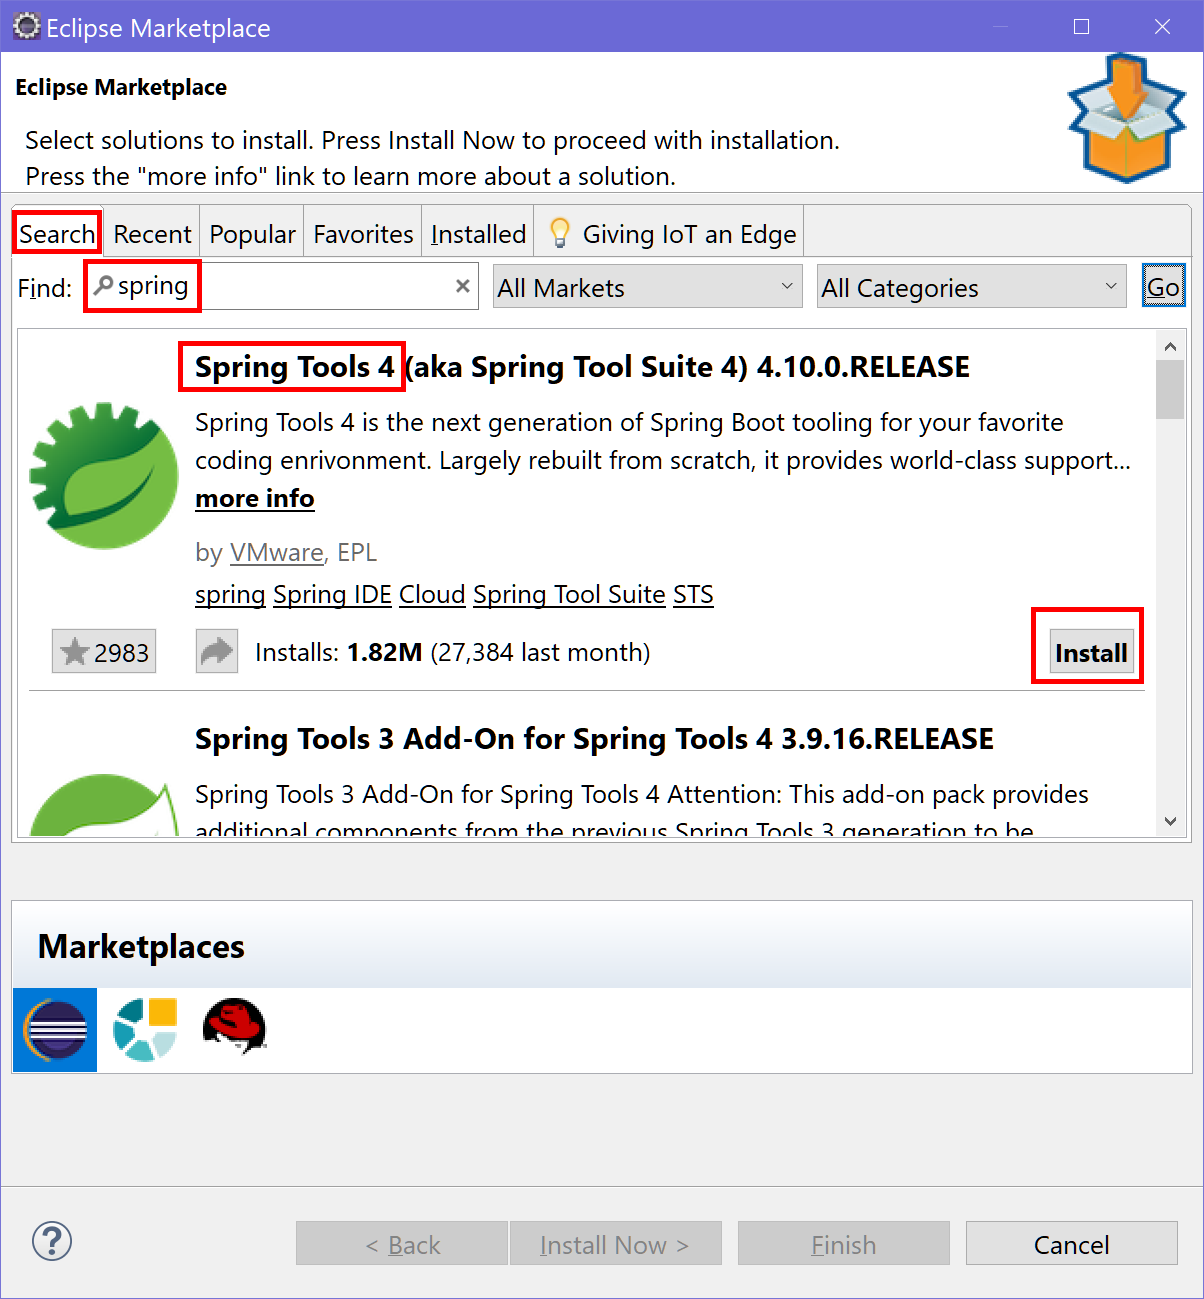
Search for Spring Tools 4 and click its install button. - On the next screen, confirm that you're going to
install all the selected components (everything should
be checked) and then click Confirm.
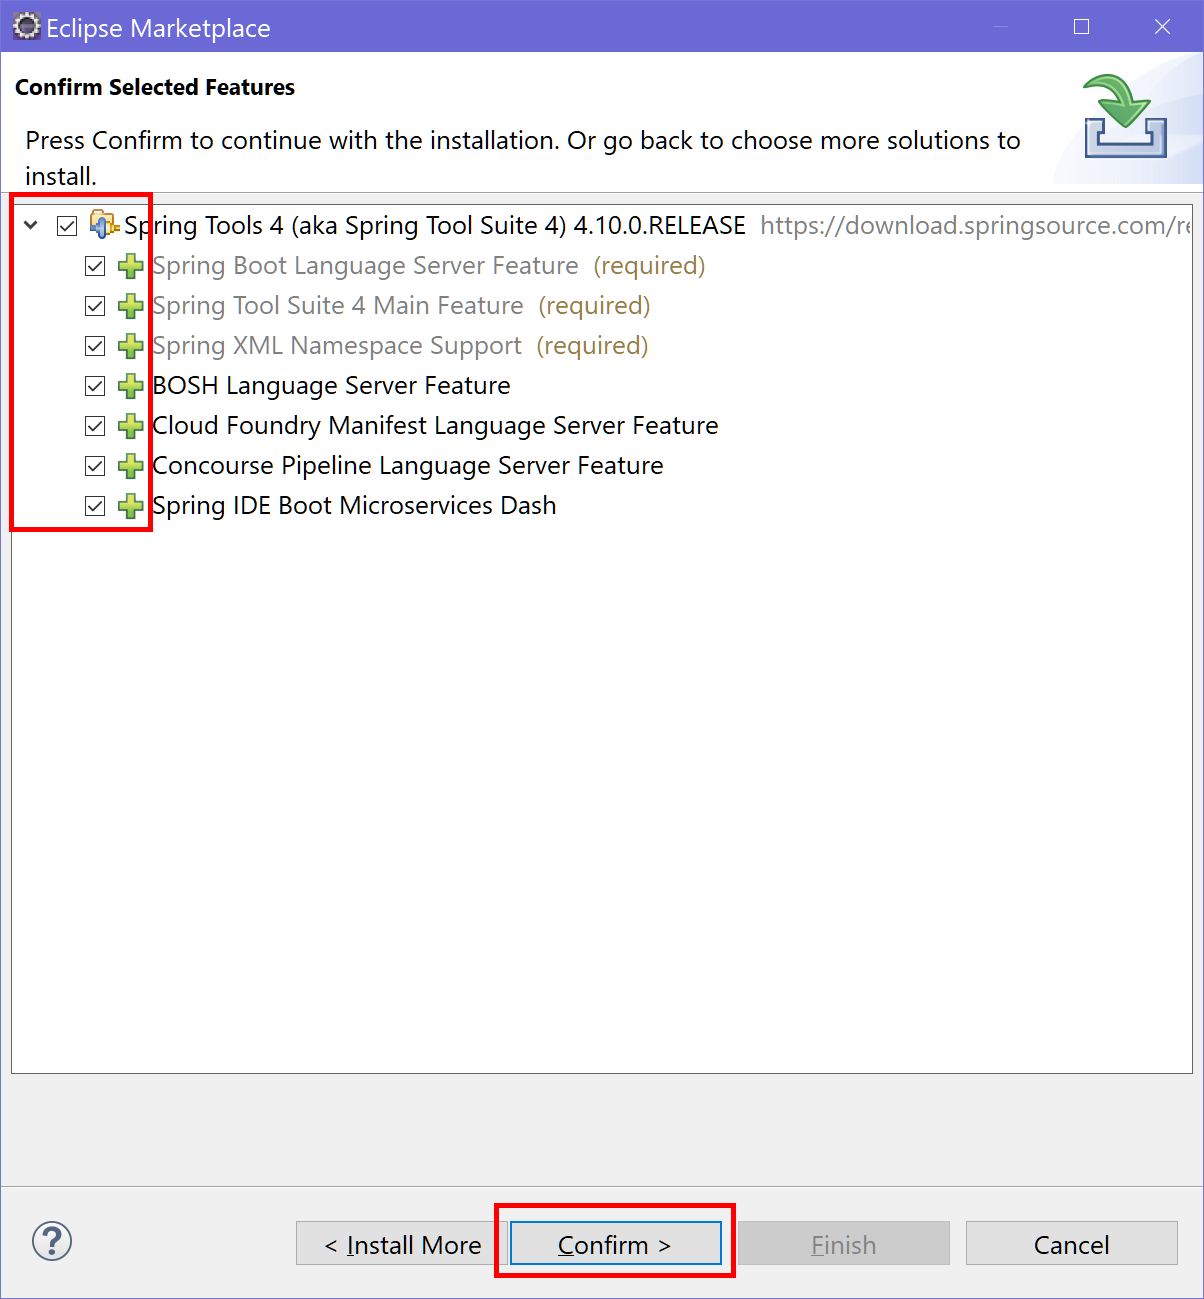
Make sure all the listed components are checked and then click Confirm. - The next screen asks you to accept the license agreement. Accept it and click the Finish button.
- The install might take some time, just be patient. At the end, you will be prompted to restart Eclipse, which you should do!
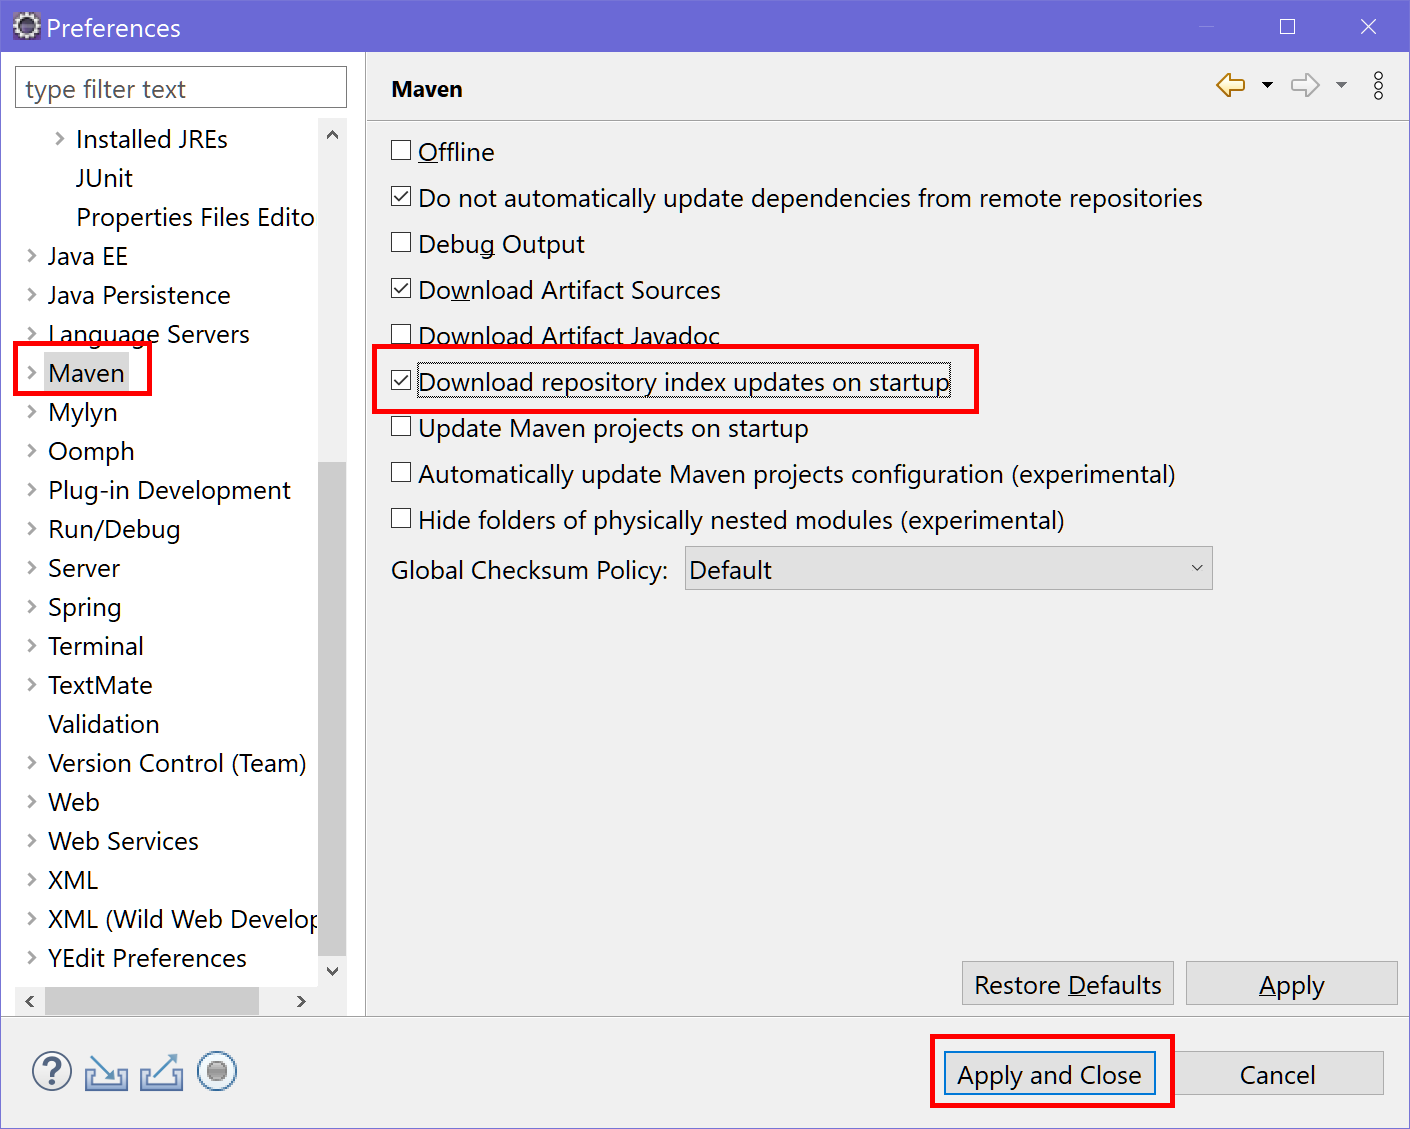
Once you've restarted Eclipse, we can do one last setup item to make things a bit easier when you want to search for dependencies to add to your project (something you'll do a lot): Go to Window > Preferences.
Scroll down to the "Maven" item and select it.
In the main part of the window, locate the check box "Download repository index updates on startup", then click on the "Apply and Close" button.
Now restart Eclipse one more time.
That's all! Once you have restarted Eclipse, you're ready to start coding some basic Enterprise Java applications with Spring Boot! There are quite a few other technologies we're going to need (Thymeleaf, Lombok, Postman, MySql) but we will add those as we need them.